New Year’s Eve was spent on the couch… as was New Year’s Day….
Sick…..
Icky
So, this is really the first time that I have had the time
to write, and the energy, and had things to write about. I finally got to the studio again to both
pick up things to show and to create new.
The last couple months have been bad, good, and everything in-between. It has been an emotional roller coaster for a
variety of reasons and I have also been dealing with some health issues. I will spare details because this is my art
blog, but suffice to say, all of that has put a damper on both my prolific
crafting and my ability to design/create.
The ideas are just not there, nor is the ability to concentrate for long
periods of time.
I have largely put aside quilting until some of this passes. On NYE, I played around with polymer
clay. I tried baking some of it, but I was
not happy with the results so I am not going to show those items yet. I think I need to get a proper clay oven,
rather than trying to use the toaster oven.
I think hubby will be pleased with that as well. He was the one who had to clean the oven…
Beading/jewelry work and going to the glass studio have been
most of my efforts. They are both
mediums in which I do not need to do a lot of setup or cleanup, and have
projects that take shorter bits of time.
The polymer clay was fun to play with, but it takes longer to make
things. In fact, I have a project stored
in a plastic container that is only about half done.
So, as a result – lately I have been experimenting. Some things I have been trying:
- Combining some of the glass pieces into necklaces (showed last post)
- Cutting copper foil into shapes and putting in glass
- Twisting various metal wires into shapes (scrolls) and putting into glass
- Twisting copper wire both into shapes (in-between glass) and bails (sticking out of the glass) for a combo effect
- Millifiore jewelry (see here for various millifiore pictures)
- Doing things with my torch work beads
The result is some interesting things. Some of the glass is doing what I think it
should, and other pieces are not. The most
interesting part is some glass from the “economy” pile. I have made a couple pieces in which it’s a
single layer with some things put on top of it.
By theory, it should scallop more than it is at the edges. I think the glass is just so crappy and
improperly made that it does not behave as I expect (and as I see in other,
better quality, glass). The edges are
not rounding as glass does either. It is
creating some interesting pieces. One
thing that is working as expected is color blending. I am learning a lot about clear, opaque,
semi-transparent, etc., and how the colors behave with each other. That is all learning that I can carry over to
better quality glass. None of it is a
waste.
Metal is a new one on me.
I like multimedia effects but have been a little afraid to try
things. I bought copper foil MONTHS ago,
and finally tried it out. Now I have to
think of more things to do with it. It
worked out well (I have showed some pictures here). I then tried wire. I twisted copper and steel wire into scrolls
and tried them out in a few glass pieces.
The 90 COE was used, and they are in the kiln now. I hope that they will turn out and I will
post them here soon!
Then, today I was looking around the studio a little and saw
something else with wire. The wire was
both part of the design and the “bail” for the pieces. I twisted some copper wire into some fun
shapes, and then twisted a loop at the top.
The loop sticks out of the two layers of glass. We will see how that turns out too! I am pretty excited.
Pictures
Since I am in my “experimenting” stage, I am just going to
throw a few pictures out there, say a few words on each, and end this
post. I have a couple nice pieces I did,
but I do not have pictures yet (I want to take them outside in the sunlight,
rather than the crappy indoor winter light).
Finished Glass and Enamel Pieces
These pictures are pieces that I have already shown, just
with do-dads, bails, chains, etc.
Nothing much to say here…. Just look!


A little Touch of Steampunk
This is a piece put together with some charms from Joann’s
and a little bit of chain. Nothing
special, but something I hope to use in costuming.

Three pieces to show here.
The first is a long necklace put together with torch work beads I made
and some little beads in a neutral color.
The other two necklaces are made from some beads I got at
the Original Sewing and Quilting Expo this fall. They are made out of paper!


Full Fuse versus Tack Fuse
These are two pieces that are made with almost exactly the
same except for the firing. They are
both white base with rounds cut from rods put on top of them. The first one is a tack fuse – just enough
firing to hold it together and smooth out the edges (not rounding them). Each piece in the arrangement remains intact
and separate. The second one is a full
fuse (it also has some stringers in it with the rod slices). The full fuse totally melts everything
together and flattens the pieces to one mass.


Experimenting with 90 COE
This piece is strips of an expensive hand rolled glass (the
pink/mauve) next to black strips put on top of a sheet of light/muted
yellow. The two different glasses melted
differently and created a ragged edge. I
have thought about grinding the edges and refiring it to “fire polish” it. My hubby says he likes it this way, so I am
going to put it on my table and look at it for a while.

I bought some glass a while back – not quite the “economy”
glass. It is very rough on one side…
VERY rough – craters of ¼ inch depth and greater. I got it in both red and black. I have shown pieces of it before here in the
blog.
This is a small plate made of the red. I have put clear glass on TOP of the
roughness which created a great many bubbles.
I love this effect!

In this piece, I put a black glass beneath the smooth side
of the piece. The top is textured, but
smoothed out from the firing.

These two plates are made with the 90 COE. The bottom is a single layer of glass and
then squares were put on top. This is
what I talked about earlier with the bottom NOT scalloping or rounding as
expected.


90 COE Jewelry
These are all pieces with the 90 COE that I will use for
jewelry. The blue and deep purple bases
are like the pieces above where the edges did not round nicely. I need to grind the sharpness out of them a
little. The pictures show that grinding
which will be negated when I rub and polish them a little. I just took the pictures a bit quickly to
post today!
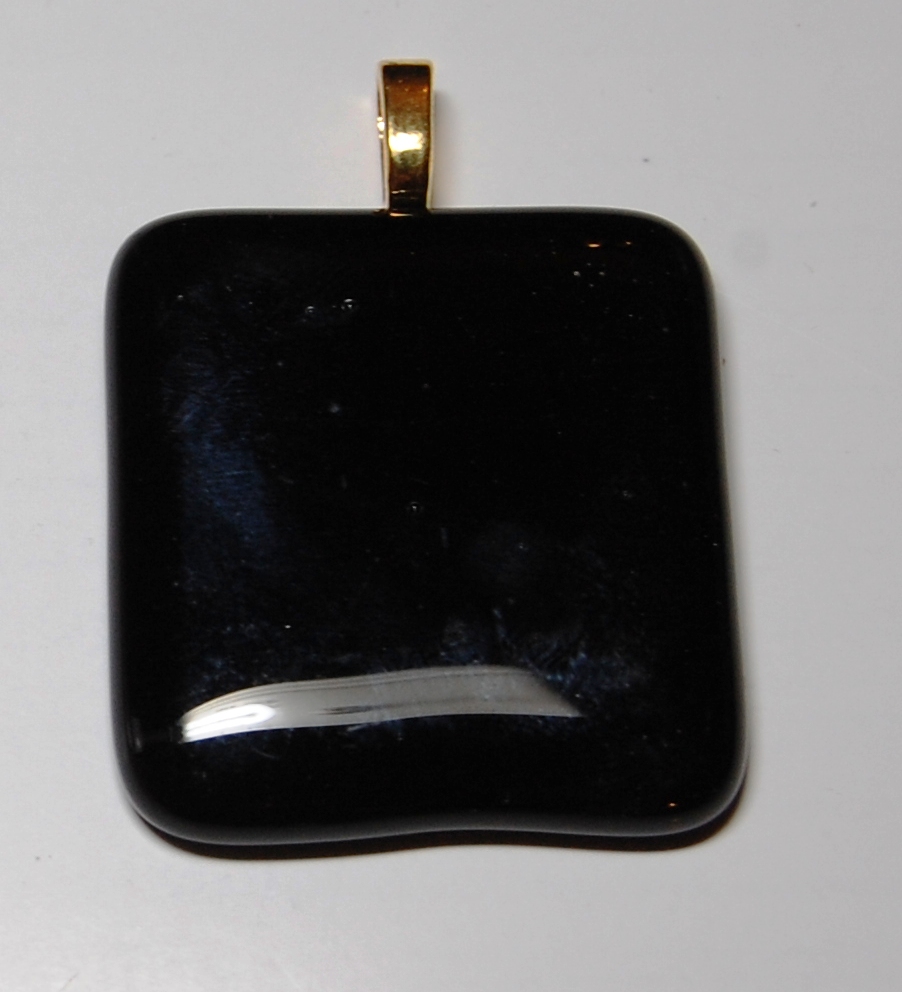
Two Pendants


Pendant

More 90 COE Jewelry
These pieces are made with nicer quality 90 COE glass. I think that each piece is going to be a
personal piece for my family or me.
Simple Pendant – This
is made of a little scrap of an expensive glass I use in leaf bowls. I am going to put a bail on and then…?

Dime Heart – What
do I mean? This is a neat piece. Someone else cut a heart from the center of a
dime. I took the scrap that she left and
put it between white and clear glass. It
did some interesting things. First, it
separated out a little, but the interesting bit is that it created a BIG bubble
in the center.

The Nice Glass – Pendant Set 1
I bought a really nice piece of mauve/white hand rolled
glass. I am going to show some things
with it later, but meanwhile, here are some of the scraps made into jewelry.
This set is made with odd bits and pieces of 90 COE
glass.


The Nice Glass – Pendant Set 2
This set of pendants was made for gifts. Each one is made very simply – a base glass
covered with the good glass OR the good glass as the base covered with
clear. Some of them are made with fiber
paper to create a chain channel, and others will have bails glued on. I have pulled out a couple individual
pictures to show the glass.


Best for Last!
I made another 8 x 24 panel.
This is made with all 90 COE. There
is one funny thing about it – see that pink in there? It is not supposed to be pink. When I put it in, it was clear. Somewhere in my collection, I have some color
changing glass and I do not know which it is!!

No comments:
Post a Comment