I’ve said this before… I know
“I am going to update this blog more often”
(hangs head in shame)
This time I mean it!
Really!
Why? Why is now
different….
I was in an art show a couple days ago. People really liked my work, I got a lot of
compliments, including many from the artists there. It’s given me new enthusiasm and I want to
promote my art more.
So, here goes!
Background Material
Hopefully I have some new readers. A ways back, I wrote a post about my art and
what I like. You can read
chronologically through all my posts to get up to speed, or you can just read
this post.
People: I mention
people in here often, I’ve introduced them through the blog, but here’s a
primer.
- Chris – husband and supports my art in spirit and love
- Perry – my other partner (look up “polyamorous” if you are
confused), my greatest fan when it comes to art
- Ana – oldest daughter and the person who encouraged me years
ago to start this blog. She also quilts
and does some other artistic things
- Elinor – younger daughter who doesn't always get the
excitement that I get from fabric, glass, etc., but has a great appreciation
for my quilts and I love giving them to her
- Cassidy – Granddaughter who has quilts and dresses that I've
made
- Brandie – a young woman who I consider my "adopted" daughter
- Pam – A BFF who quilts with me and indulges my other hobbies as well
The Show
The aforementioned show… the one that has renewed my vow to
update this blog, was the “Pancakes and Booze” show.
It was different than the craft sales that I’ve participated
in over most of my adult life (and some of my teenaged years). The focus was on the artist – painters mostly
– who hung things on the wall all around the space. There were only a couple vendors (what I
was), and they seemed to have been chosen for their “not your average craft”
sort of art work. There were free
pancakes served all during the show, it was in a bar venue, and the hours were
9 pm – 2 am…. Vastly different from church basement and school gym craft sales!
Me at the table:
Some crowd shots. See
the art on the walls?
Current State
Quilting
Currently, my focus is on quilting. I have a nice wicker “trunk” in the dining
room that is meant to hold all my sewing and qulting projects. (note:
I have my fabric “stash” in the basement, but I keep my sewing machine
in the dining room. When we have company,
it gets picked up and stashed). My
projects overflowed from that space and I started keeping a lot of them in a cardboard
and wire framed box (like the grocery boxes you can buy, but bigger and heavy
duty).
Over the last few years, I’ve tried to empty that box, but I
just keep putting things into to it.
Now, with some time off from work, and a desire to get things under
control more, I’m making a concentrated effort to work from the box, finishing
everything completely and starting NO new projects.
I’m doing well!
Really!
I did “cheat” once, but it was for a good cause. Perry’s niece had a baby. Babies need a made for them quilt. I started, and COMPLETELY finished a quilt
for him from outside the box. I actually
made two very similar (color scheme variants) and let Perry choose. I also used the scraps in a table topper –
instead of adding bits and pieces to my stash.
The chosen baby quilt is done and gone, the table topper is
in my binding bag (I hand stitch my bindings and save those for watching
movies, etc.), and the un chosen baby quilting is getting laid out
tomorrow. When it is done, I’ll post
pictures of all three items.
I mentioned laying out tomorrow. The story is that I have limited space here
to lay out. I have a LOT of space – it’s
a big old house – but most of it is small rooms… many small rooms.
Pam lives in an apartment complex and it has a party
room. She’s secured it’s use tomorrow
and we are going to lay quilts out there all day!
(definition: Quilting. This refers to two things. It’s both the act of piecing the top (sewing
all the pieces together) and it’s the stitching through all layers (backing,
batting, top) to hold it together.
(definition: laying
out a quilt. The three layers of the
quilt must be prepared prior to quilting them together. Generally, one “lays out” the quilt pieces on
a large surface. I personally lay out on
carpet, utilizing the carpet to gently pin down the backing (bottom layer) so
it doesn’t move, then the other two layers and pin all together with large
safety pins. Once the “sandwhich” is
secured well with pins, it can be rolled or folder and transported and still be
viable for quilting activities)
(definition: binding
a quilt. Sewing a strip of fabric along
the entire perimeter edge of a quilt from one side, folding it over the edge
and stitching it to the other side to encompass the entire raw edge of the
quilt)
I have prepped seven quilts.
I’ll keep you informed of how many I actually get laid out!
An Unexpected Request
First, I have to tell you something about how I create with
quilting. I rarely use patterns. If I do something that is a traditional
block, I often do it from my head. I do do
a lot of
paper piecing,
which needs paper patterns to follow exactly, but even those usually draw (on
computer) and print out my own. It is
not unusual for me to start working on something with just a seed of an idea
and make it up as I go. Sometimes the
amount of fabric I have drives design changes.
Every so often, I make a mistake that I have to incorporate into the
mix. I call those “design opportunities”
rather than “mistakes”.
I had bought a yard of a fabric that I really liked. It was in the “work from the box” box. In early February, five other women and I
were heading to a weekend crafting/quilting weekend retreat and I grabbed it as
a project. I went into my stash and
picked out about a dozen fabrics that went with it. I had no plan.
At the retreat, one of the other women was making blocks in
a pattern that I hadn’t seen before. The
orginal pattern was made with three colors and had organized patterns. As I like to do, I altered to encompass more
fabrics.
Here’s a quick rundown of the pattern:
- Sew four fabrics into a four patch
- Cut them as in this diagram
- Rotate the large pieces and the center piece
And here is my first block done:
The first step in making the quilt was to cut out squares of
the focus fabric and the complementary colors.
One of the other women at the retreat loved the focus fabric. I had her pick some squares and I made her a
little piece with it.
After the retreat, when I was home with my quilting machine,
I quilted it, bound it, and gave it to her for a graduation gift.
Shortly after that, she contacted me and asked about the
larger quilt. Long story short – she’d
always wanted a quilt, but hadn’t found one that screamed out her name…. until
then.
It’s not quilted yet, but I thought I’d show you the
progress:
All the blocks done, arranged on the floor:
Auditioning fabrics for the borders. First the large outer border, then the small
inner border. The fifth picture is the winner
– narrow light purple border, then large dark purple border.
Jude the cat showing his approval
And… a picture of the finished top!
Random Quilt Pictures
(Row by row, left to right)
- Disappearing Nine Patch:
- Small piece with embroidered center:
- Bright table runner:
- Small table topper, made with scraps from the runner:
- Paper pieced stars - full view and close-up:
- Scrap 25-patch blocks. full view and close-up:
- Table topper with embroidered corners, and a picture from
the back of the quilting:
- My helpers enjoying my bin of batting scraps:
Cassidy wearing some of the dresses I made quite a few years
ago:
Beads
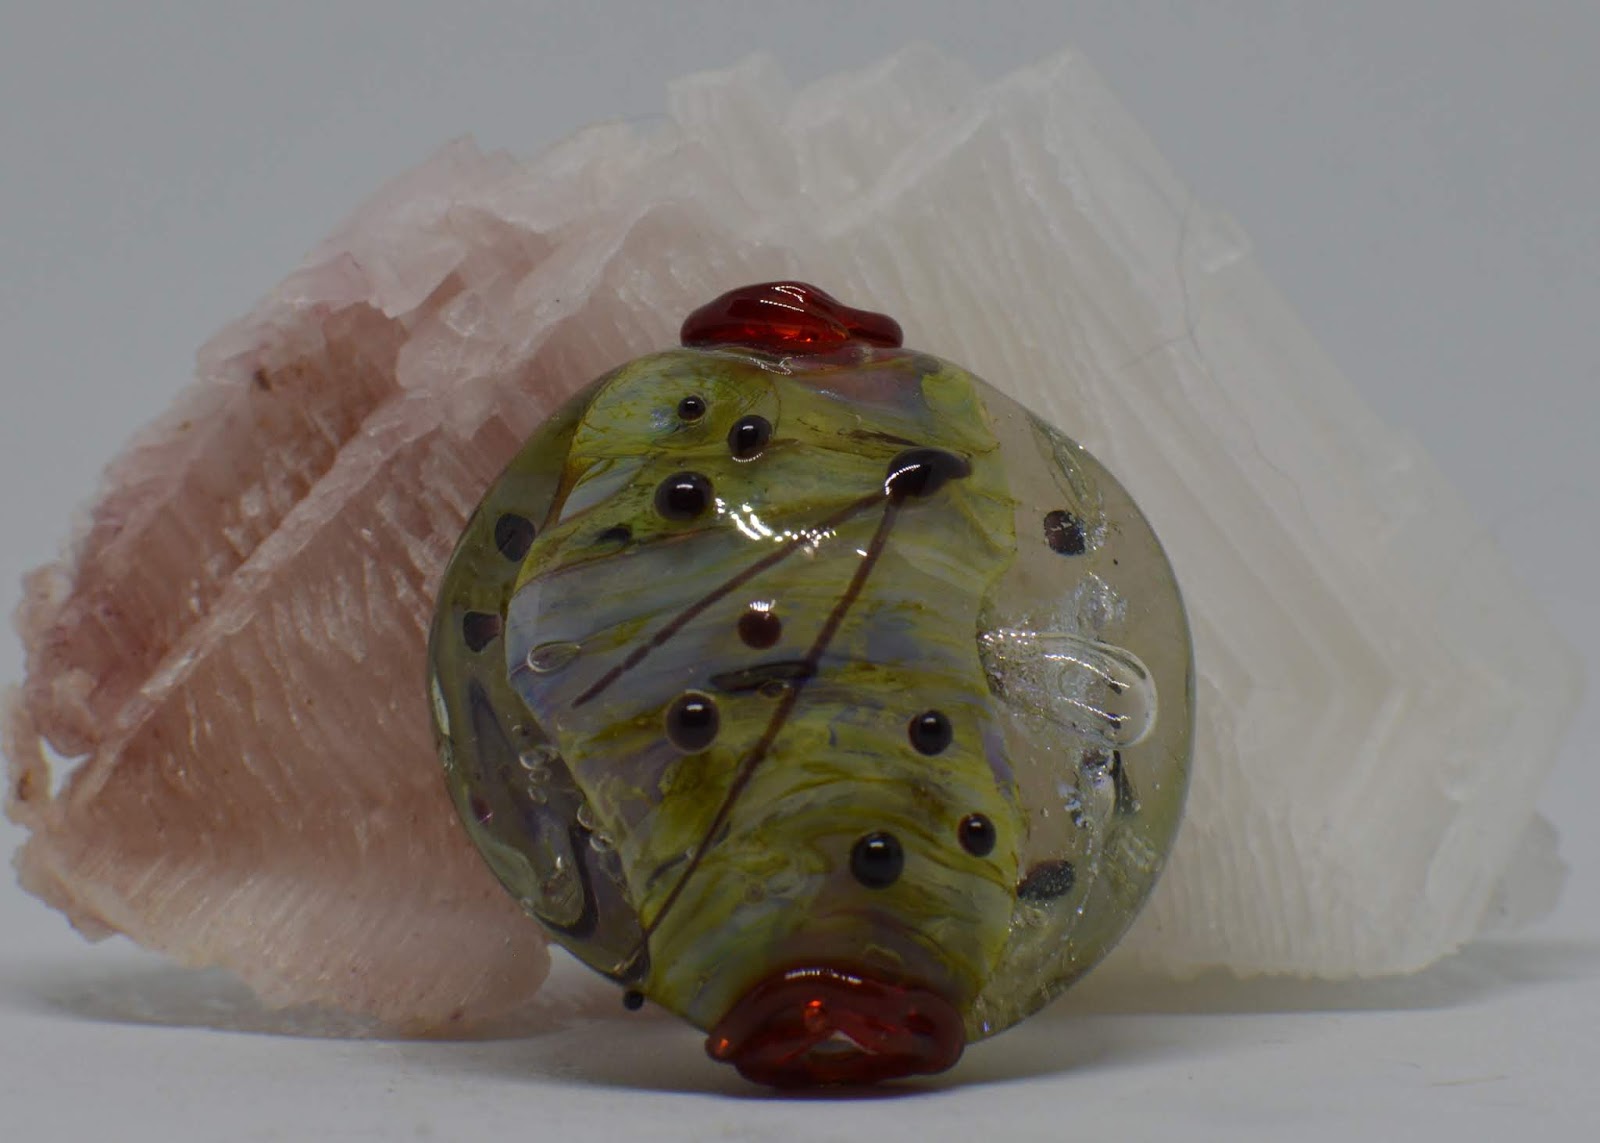
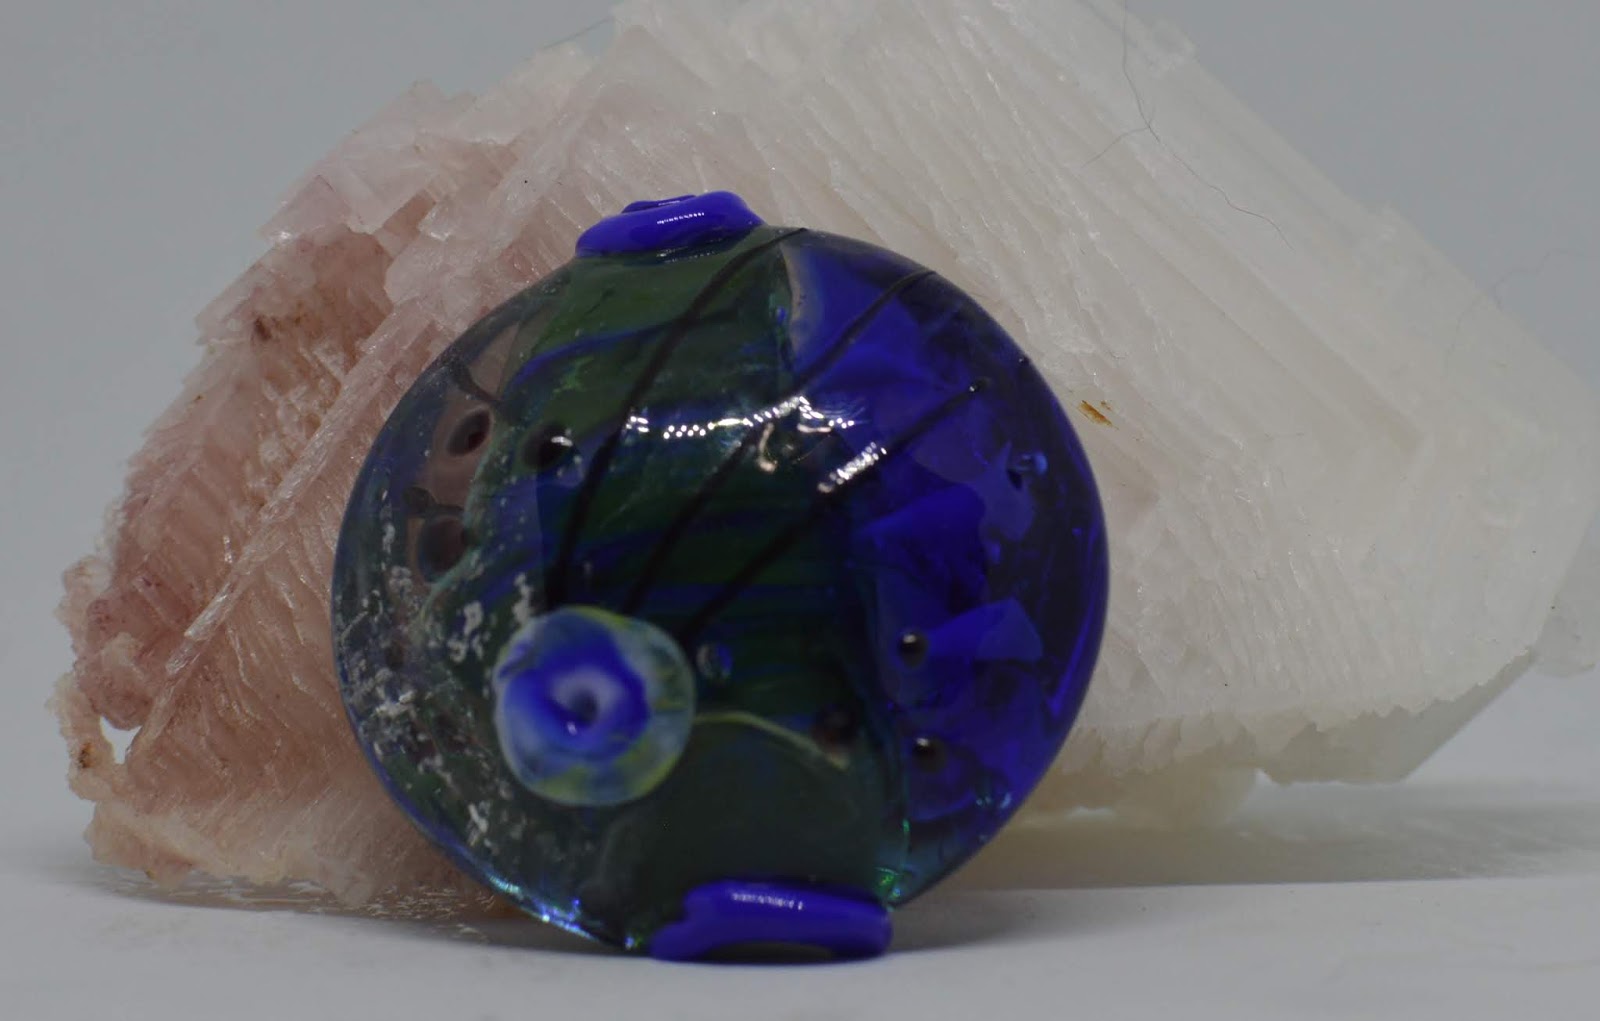
Here are some pictures of recent beads that I have
made. These pictures show the variety of
shapes and sizes I like to make. They
also show that I love all colors!